Flujos de trabajo de documentos seguros y personalizados
Diseñado para los entornos de trabajo modernos, MyQ una seguridad sólida, flujos de trabajo flexibles y una experiencia de usuario intuitiva.


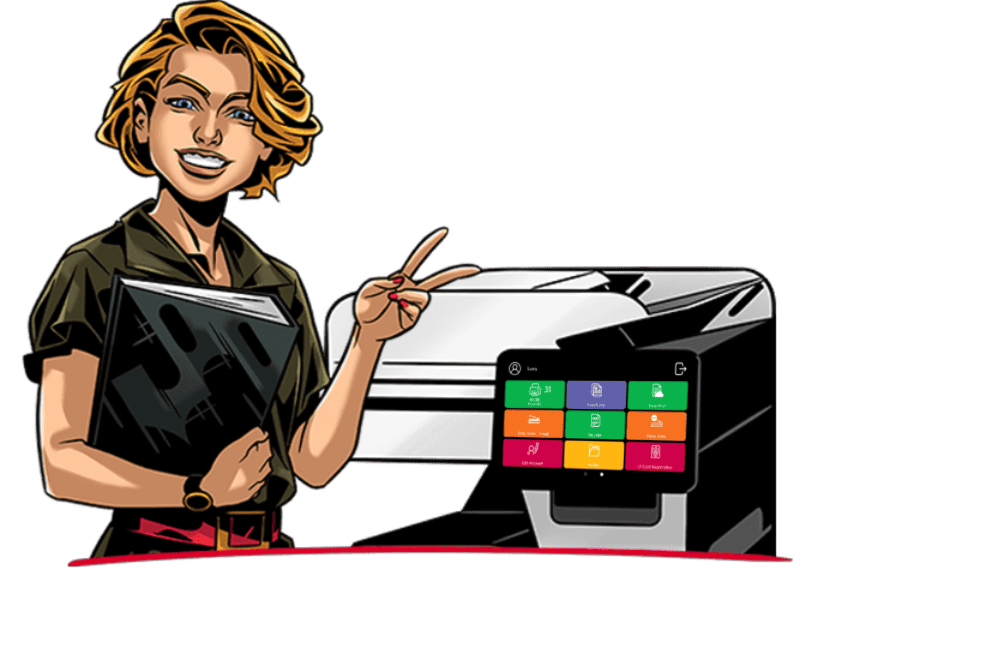
Flujos de trabajo avanzados
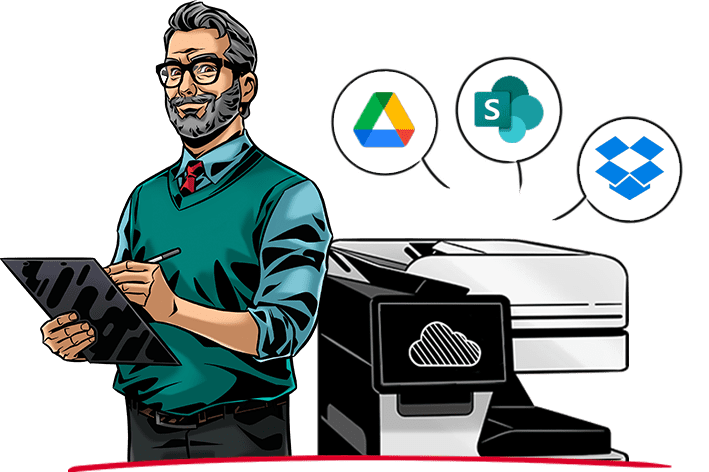
Automatice la captura, el procesamiento, el envío y la entrega de documentos mediante flujos de trabajo diseñados para reducir el trabajo manual y mejorar la productividad.
Dispositivo

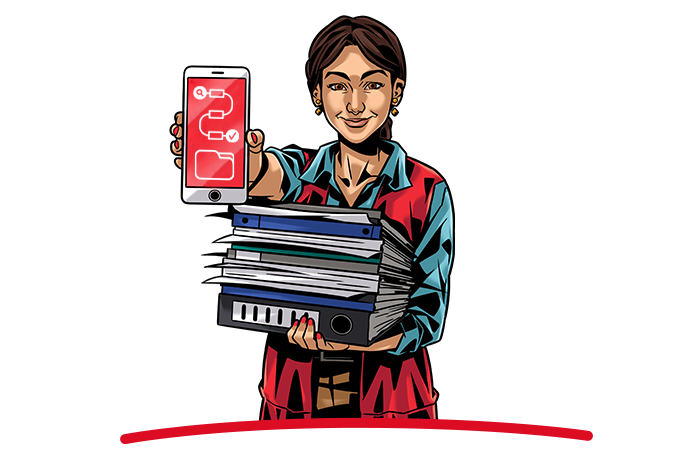
Gestione dispositivos, usuarios, políticas y flujos de trabajo desde una plataforma centralizada y obtenga una visión global de todo el entorno de impresión, manteniendo al mismo tiempo un nivel constante de seguridad y control.
Nuestros productos


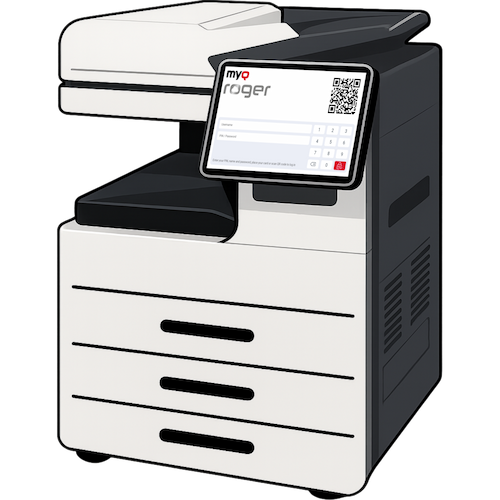
Gestión de impresión local o en nube privada
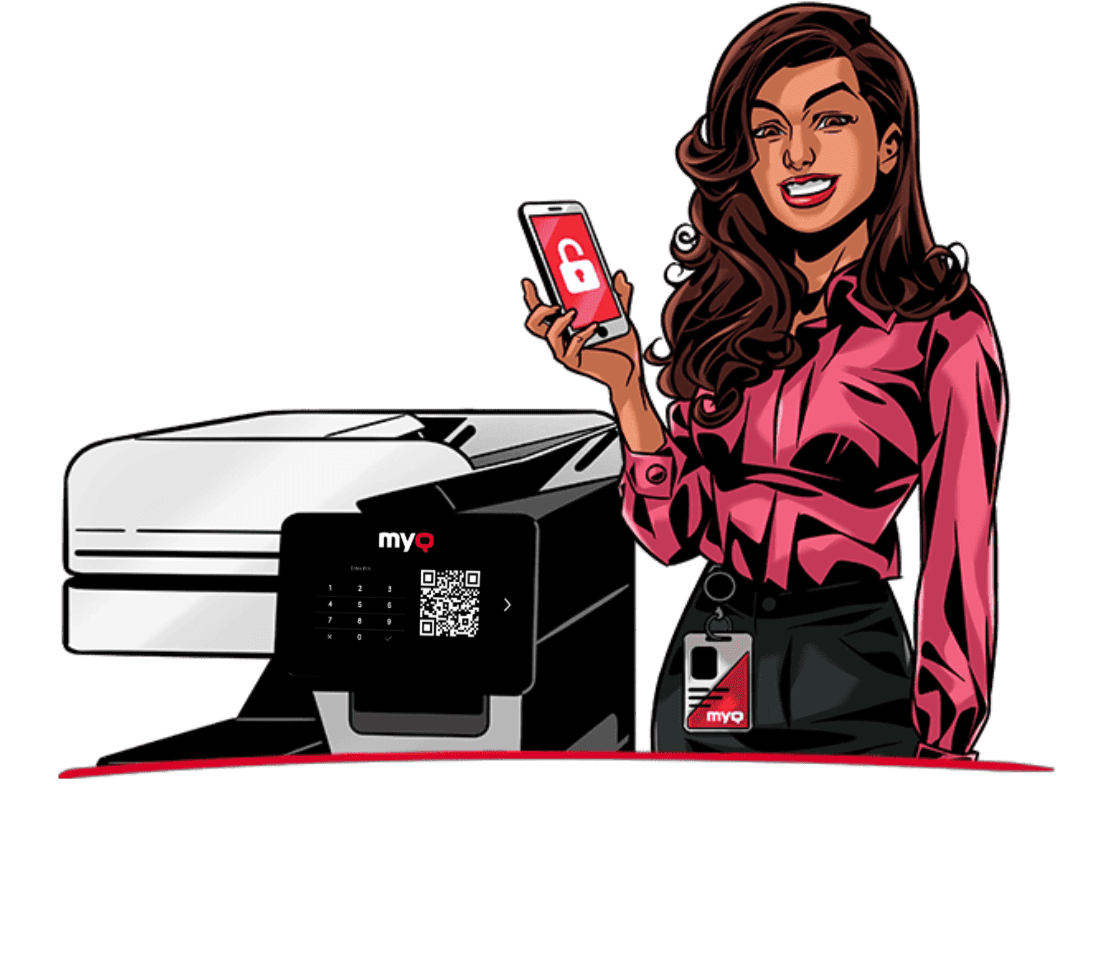
- Seguridad de extremo a extremo
- Experiencia de usuario personalizada
- Configuración sencilla, incorporación sin complicaciones
- Flujos de trabajo avanzados de gestión documental

Plataforma de impresión y escaneo nativa en la nube
- Impresión y escaneado en la nube
- Potente aplicación móvil
- Solución escalable
- Seguridad desde el diseño


Novedades de MyQ
7 de julio de 2026
MyQ expande sus capacidades multiproveedor con MyQ X 10.2, ya disponible para Brother
Noticias
3 min read
3 de julio de 2026
MyQ 10.2 entra en la fase de soporte a largo plazo mientras la innovación continúa con la versión 10.3
MyQ
4 minutos de lectura
6 de septiembre de 2026
La gestión de la impresión se está convirtiendo, sin que apenas se note, en un elemento fundamental de la transformación digital
Noticias
2 min read
6 de abril de 2026
MyQ HP en Estados Unidos
MyQ
2 min de lectura